Quick Start (Shirates/Vision) for macOS
Environment
See Tested Environments before installation.
Note: AI-Vision feature is for only macOS currently.
Installation
Install following prerequisite tools.
Note: Do not use OS account with username contains non-ASCII characters or white spaces. Some of following tools don’t work well.
IntelliJ IDEA
If you have not installed, download Ultimate or COMMUNITY and install it. (COMMUNITY is opensource product)
https://www.jetbrains.com/idea/
Android Studio
If you have not installed, download Android Studio and install it.
https://developer.android.com/studio
Xcode (Mac only)
If you have not installed, search Xcode in App Store and install it.
Command Line Tools for Xcode (Mac only)
If you have not installed, open terminal window and run this command.
xcode-select --install
Homebrew (Mac only)
If you have not installed, go to https://brew.sh/ and install it.
Java Development Kit (JDK)
If you have not installed, search installation guide and install it.
node & npm
If you have not installed, install it.
(for Mac)
You can install NPM with brew. Open terminal window and type these.
brew install node
node -v
npm -v
Note: Use newer version to avoid troubles of installing appium.
Appium
New install
npm install -g appium
appium -v
If you are already using appium, update to the latest version.
Update install
appium -v
npm uninstall -g appium
npm install -g appium
appium -v
See Tested Environments to get tested version.
UIAutomator2 driver
New install
appium driver install uiautomator2
Update install
appium driver list
appium driver uninstall uiautomator2
appium driver install uiautomator2
appium driver list
See Tested Environments to get tested version.
XCUITest driver(Mac only)
Install XCUITest driver.
New install
appium driver install xcuitest
Update install
appium driver list
appium driver uninstall xcuitest
appium driver install xcuitest
appium driver list
See Tested Environments to get tested version.
Setting Environment Variables (Mac only)
Set environment variables in initializing script (.zshrc or others).
Example
export ANDROID_SDK_ROOT=/Users/$USER/Library/Android/sdk
export PATH=$ANDROID_SDK_ROOT/emulator:$ANDROID_SDK_ROOT/tools:$ANDROID_SDK_ROOT/platform-tools:$PATH
Note: Execute log out/log in to take effect above settings.
Setting up AVD (Android Virtual Device)
Create AVD for demo
- Open Android Studio.
- Select menu
Tools > Device Manager. - Click
[+]and selectCreate Virtual Device.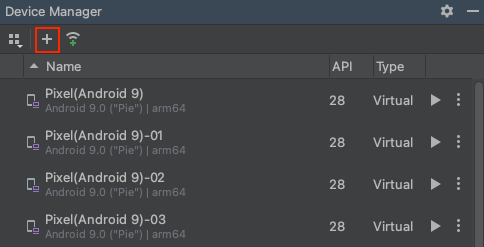
- Select
Medium Phoneand clickNext.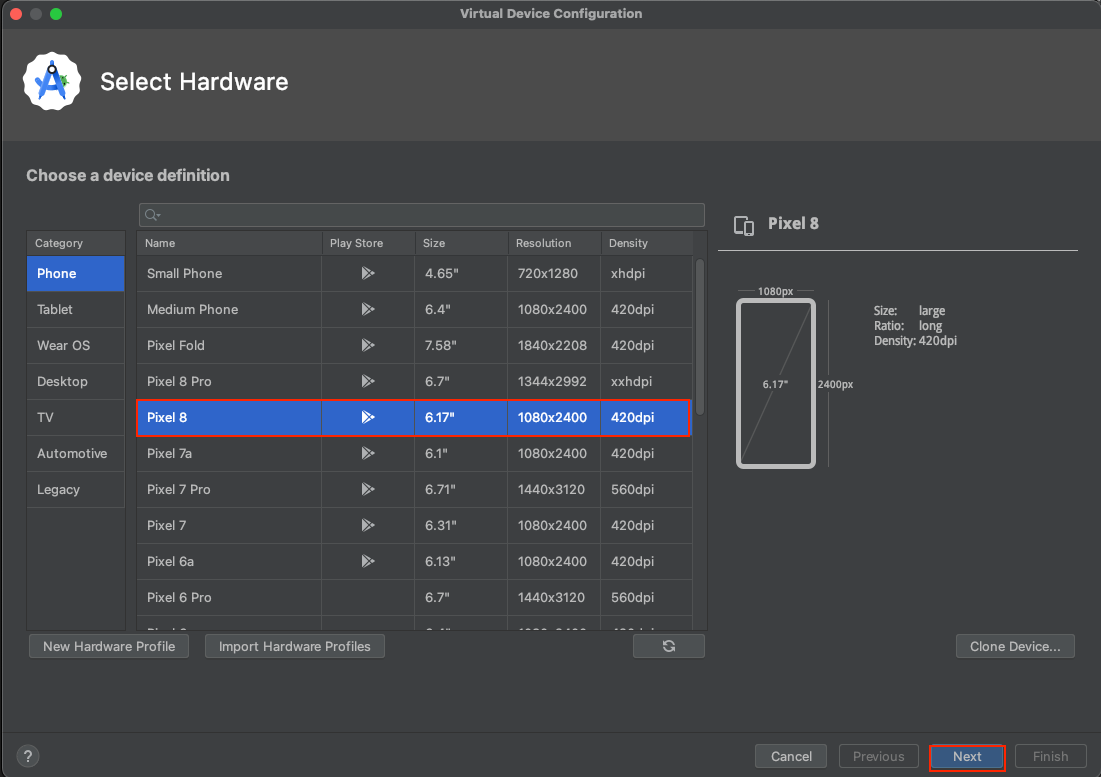
- Set fields.
NameMedium(Android 16)
APIAPI 36.1 "Baklava", Android 16.0
ServicesGoogle Play Store
System Image (Select the item)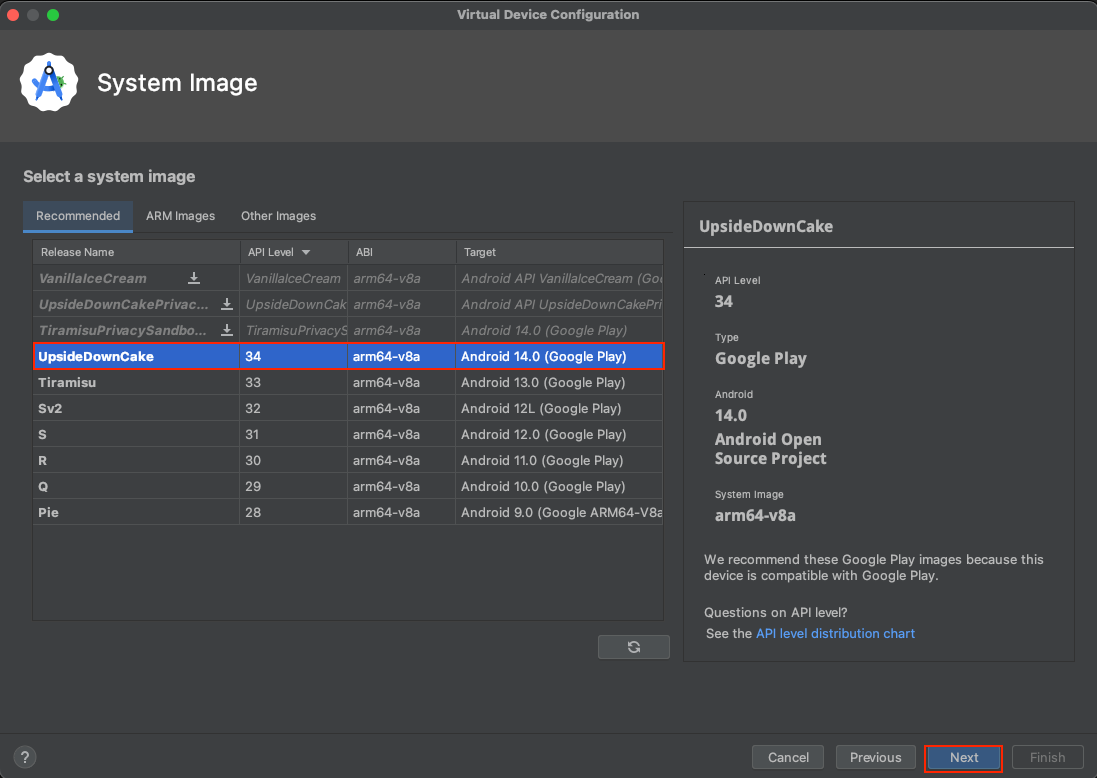
- Click
Additional settings.
Set Device skin[None].
ClickFinish.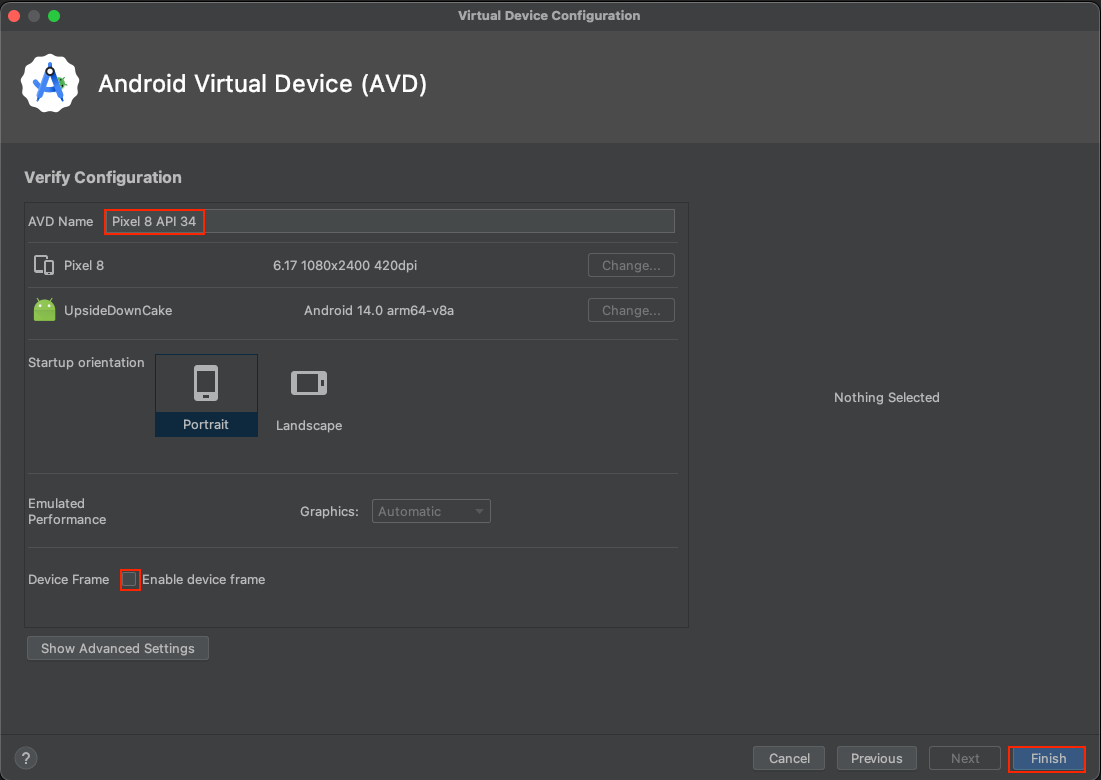
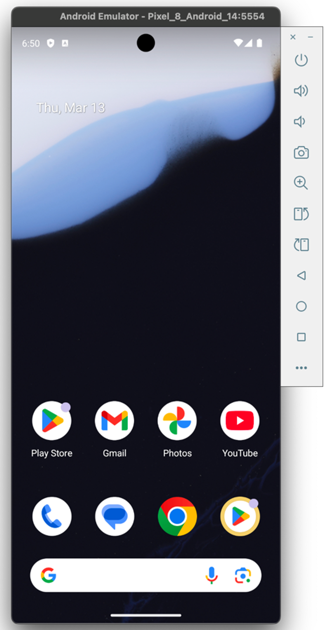
- Now you can use the emulator.
Click the play button to launch the emulator.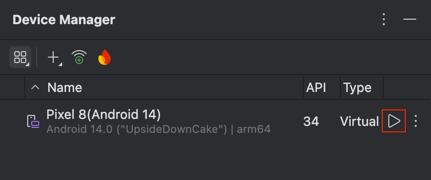
Setting up shirates-vision-server
- Get shirates-vision-server from shirates-vision-server.
- Open the project (open
Package.swiftwith Xcode). Wait a while for the background process to finish. - Select
Product > Destination > My Mac.
- Select
Product > Run. You can see[ NOTICE ] Server started on http://127.0.0.1:8081.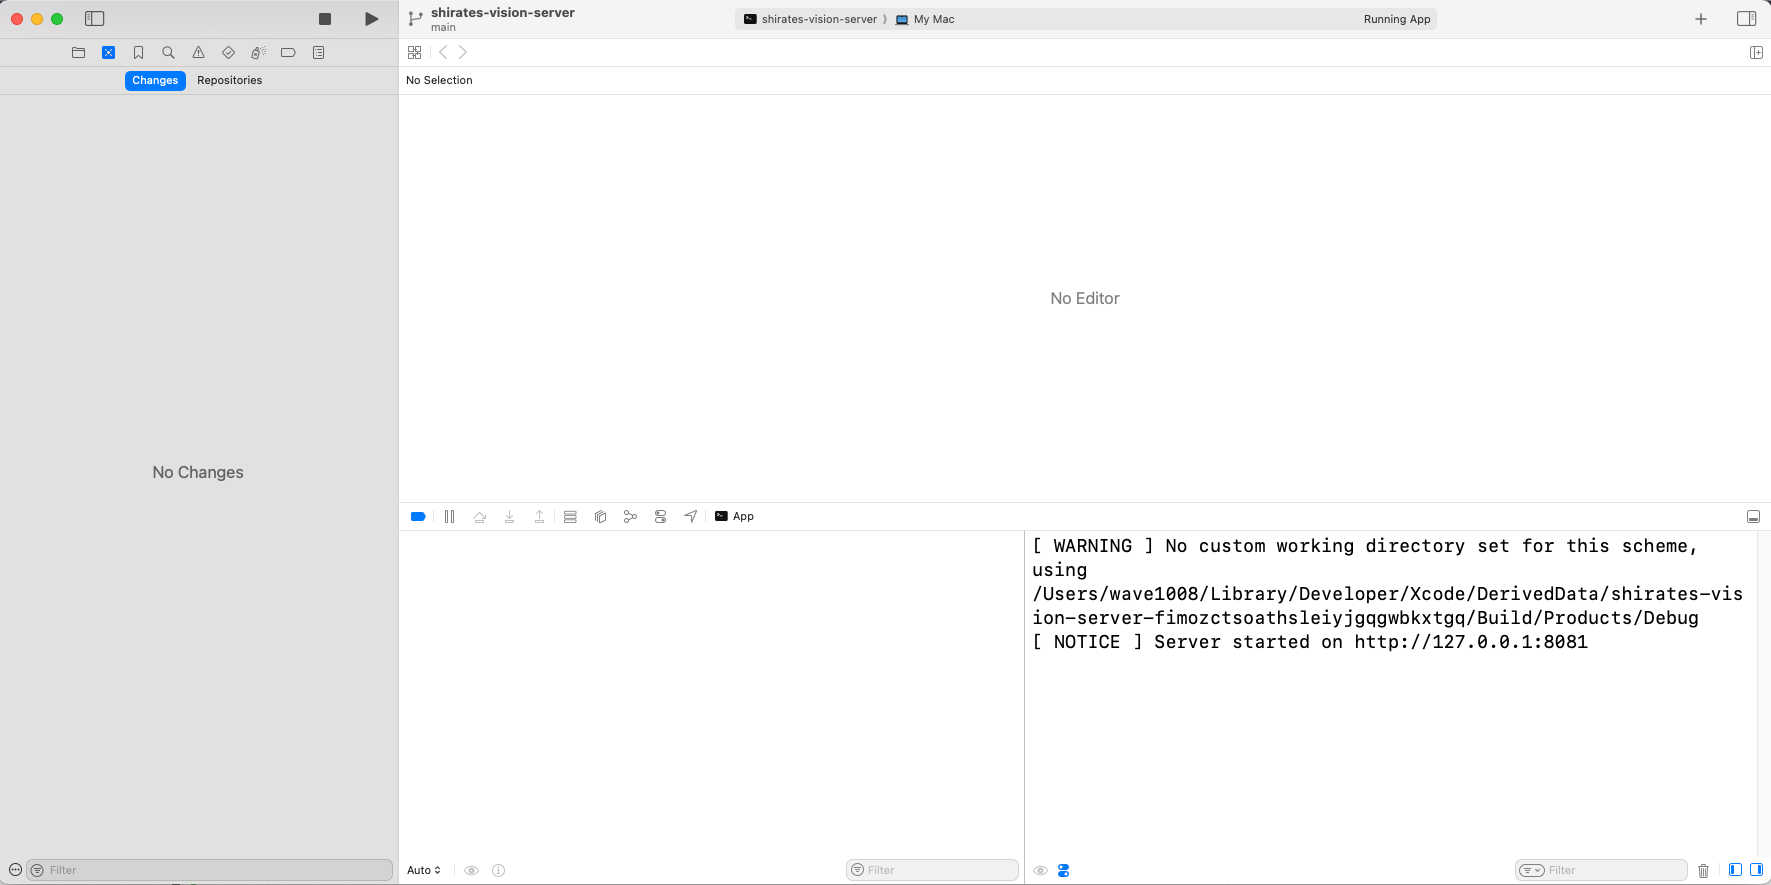
Demonstration
Let’s see demonstration.
Getting shirates-core-vision-samples
- Get shirates-core-vision-samples_en from shirates-core-vision-samples_en.
Opening Project
- Open shirates-core-vision-samples_en project directory in Finder.
- Right click
build.gradle.ktsand open withIntelliJ IDEA.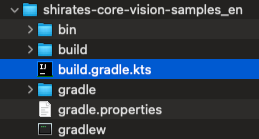
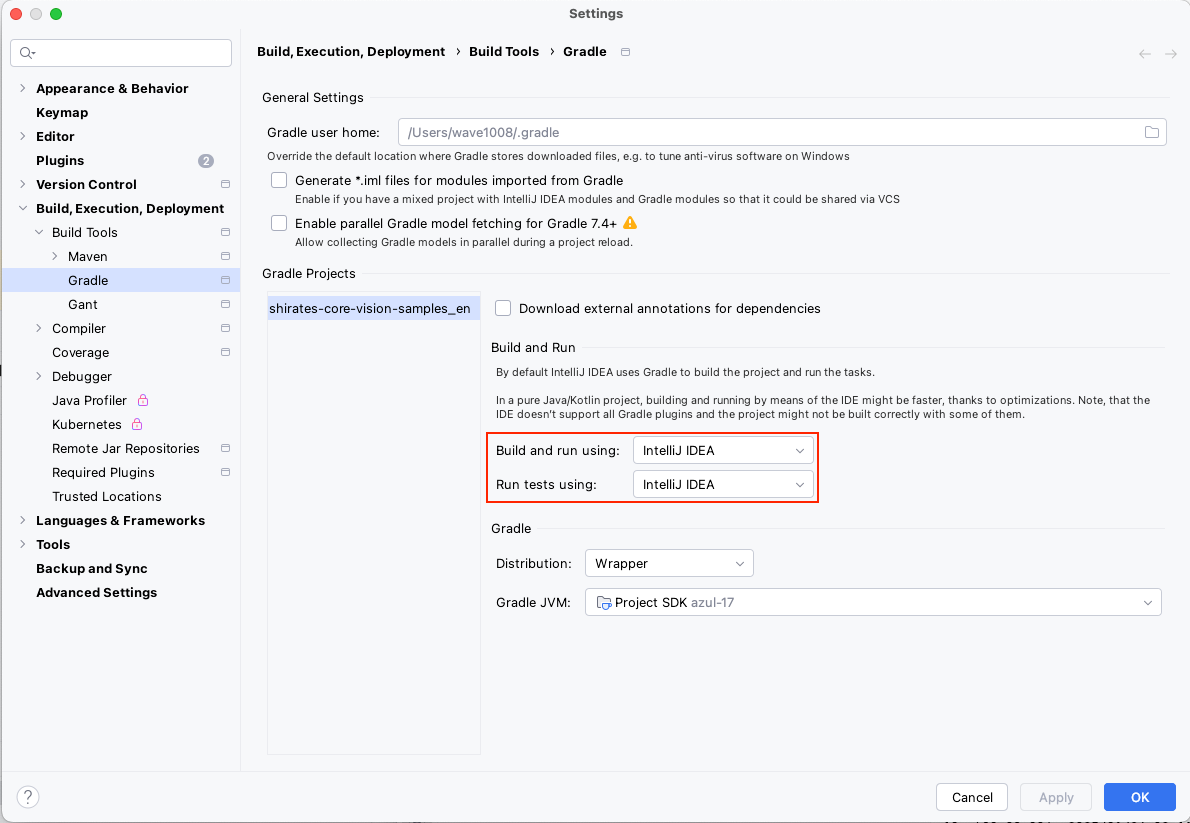
Enable right-click test running
IntelliJ IDEA > Settings(orFile > Settings)Build, Execution, Deployment > Build Tools > Gradle- Set
Run tests usingtoIntelliJ IDEA
Run AndroidSettingsVisionDemo
- Open
shirates-core-vision-samples_enproject inIntelliJ IDEA,
right click onkotlin/demo/vision/AndroidSettingsVisionDemo
and select Debug ‘AndroidSettingsVisionDemo’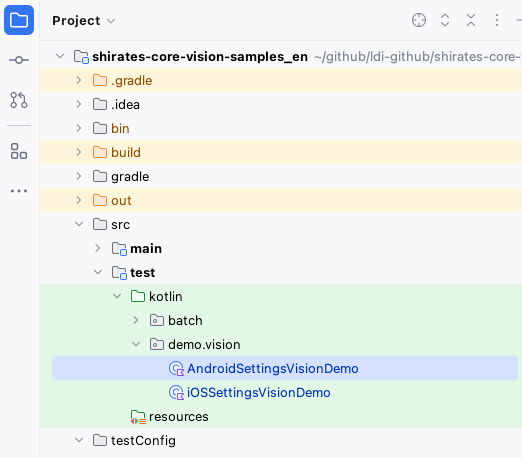
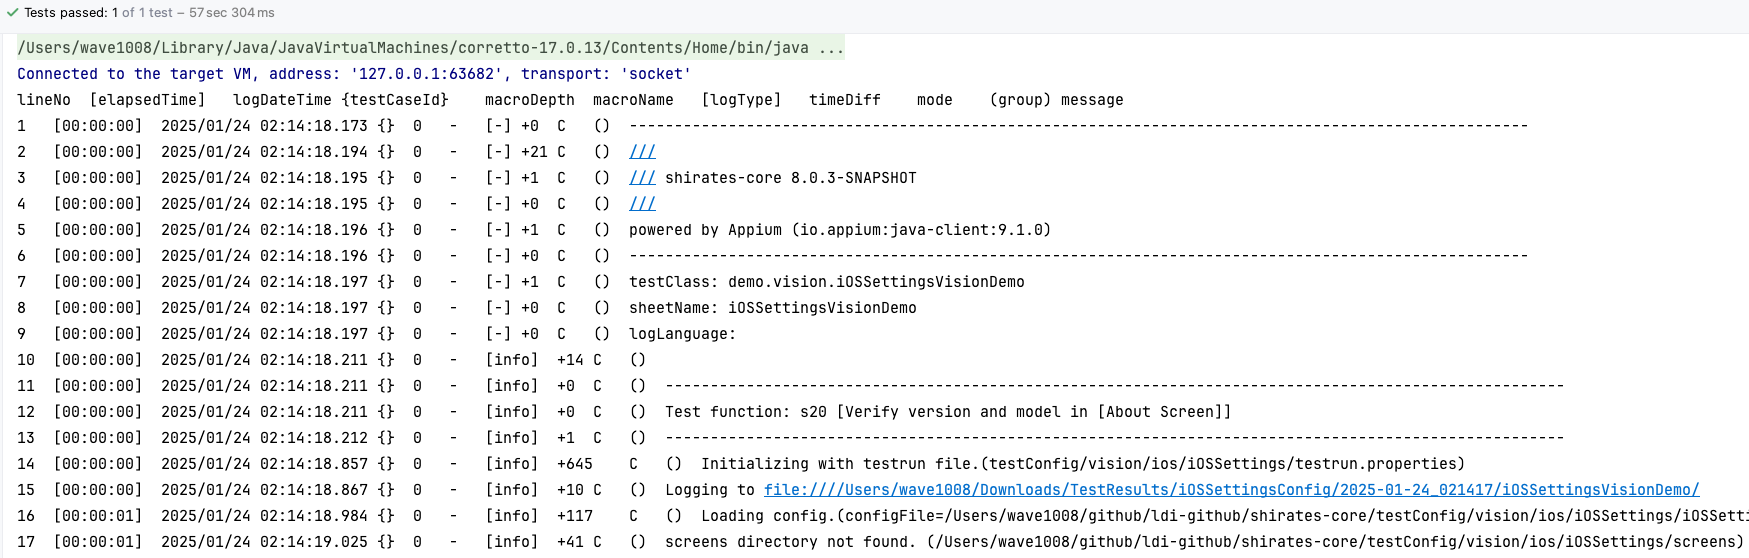
- You’ll see logs in the console like this.

- Click the link to open the log directory.
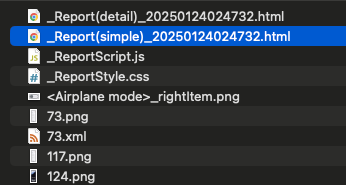
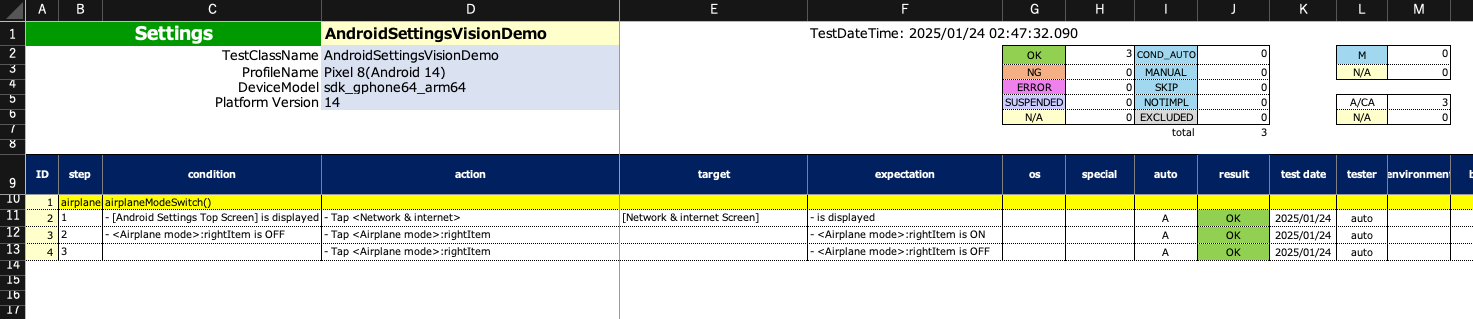
- Open _Report(simple).html.
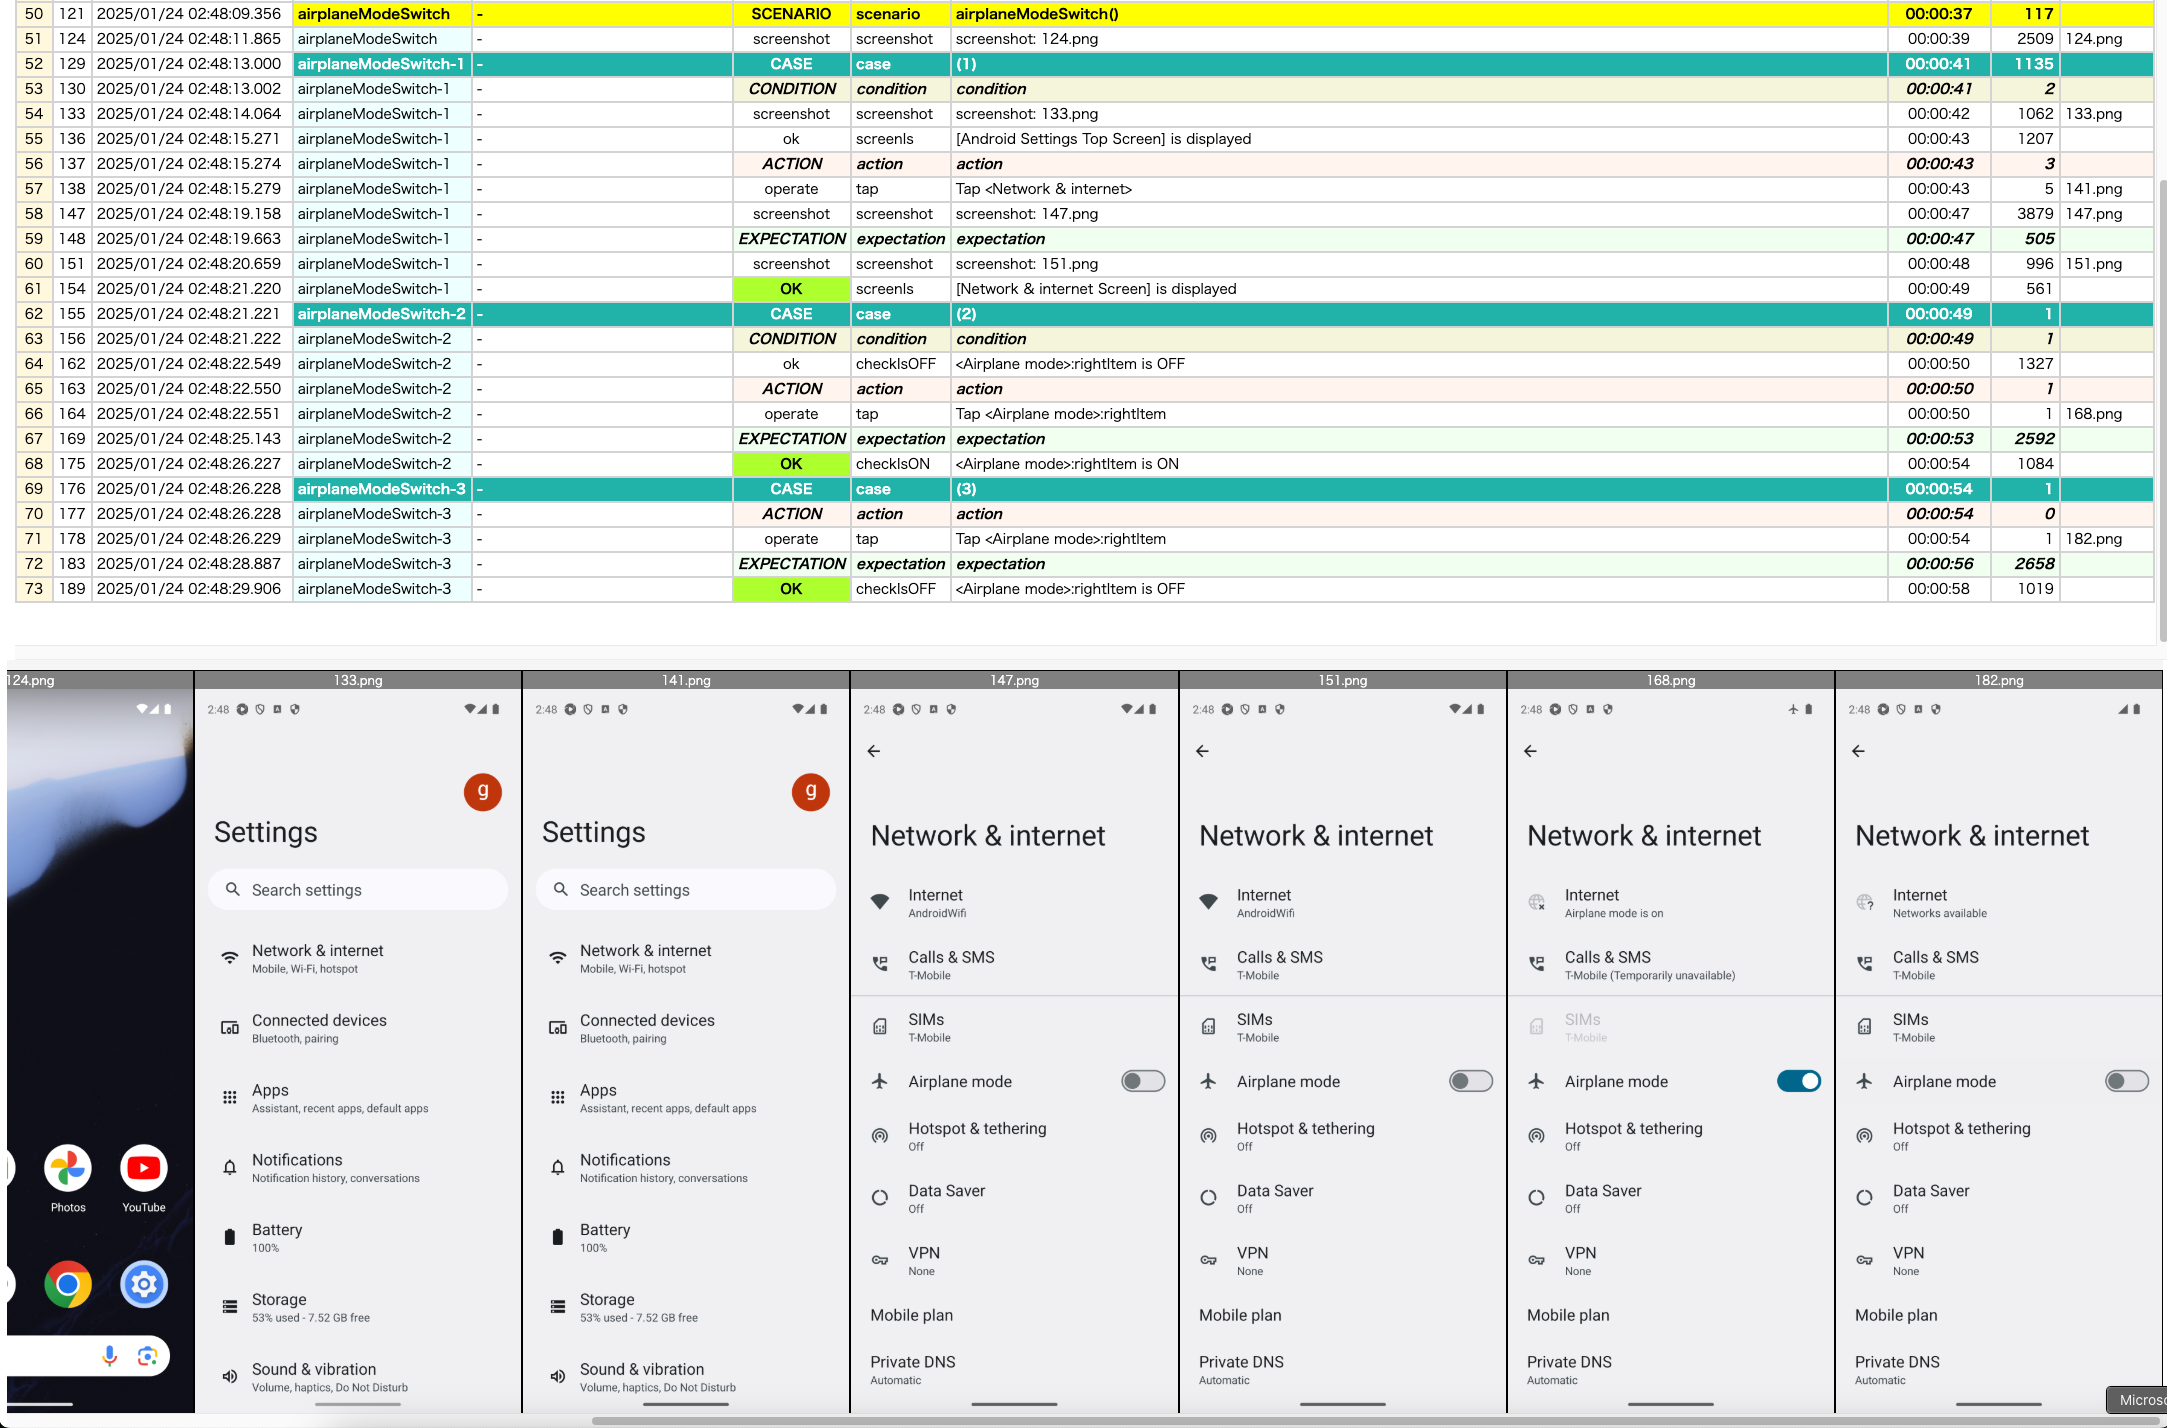
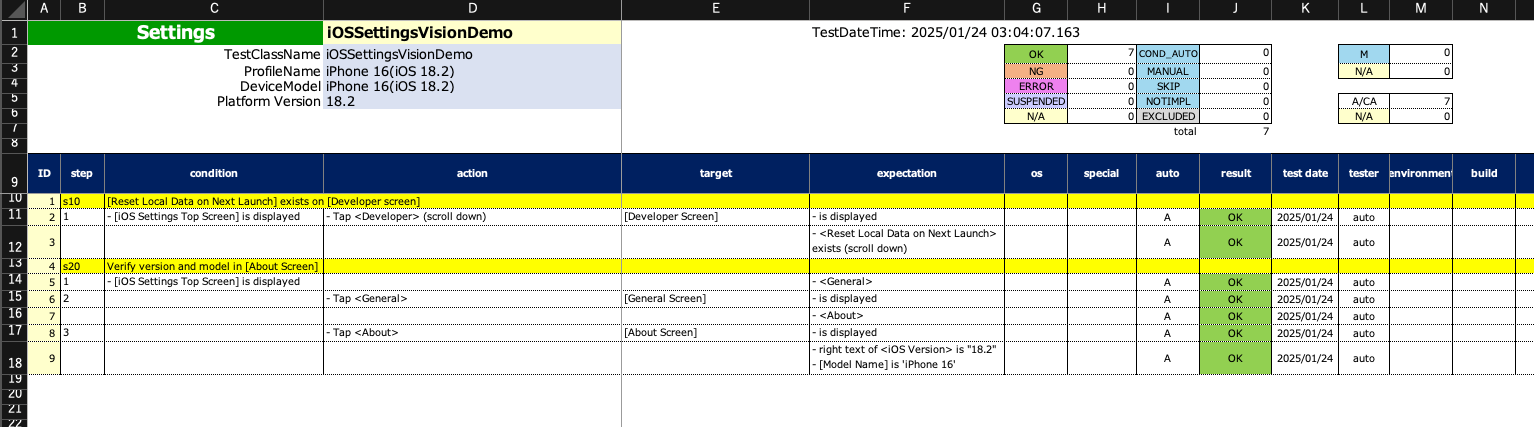
- Open AndroidSettingsVisionDemo@a.xlsx.
Run iOSSettingsVisionDemo
- Open
shirates-core-vision-samples_enproject in IntelliJ,
right click onsrc/test/Kotlin/demo/vision/iOSSettingsVisionDemo
and select Debug ‘iOSSettingsVisionDemo’ - You’ll see logs in the console like this.
- Click the link to open the log directory.
- Open **_Report(simple).html **.

- Open iOSSettingsVisionDemo@i.xlsx.